Why Chocolate Peanut Butter Dream Bars Delight
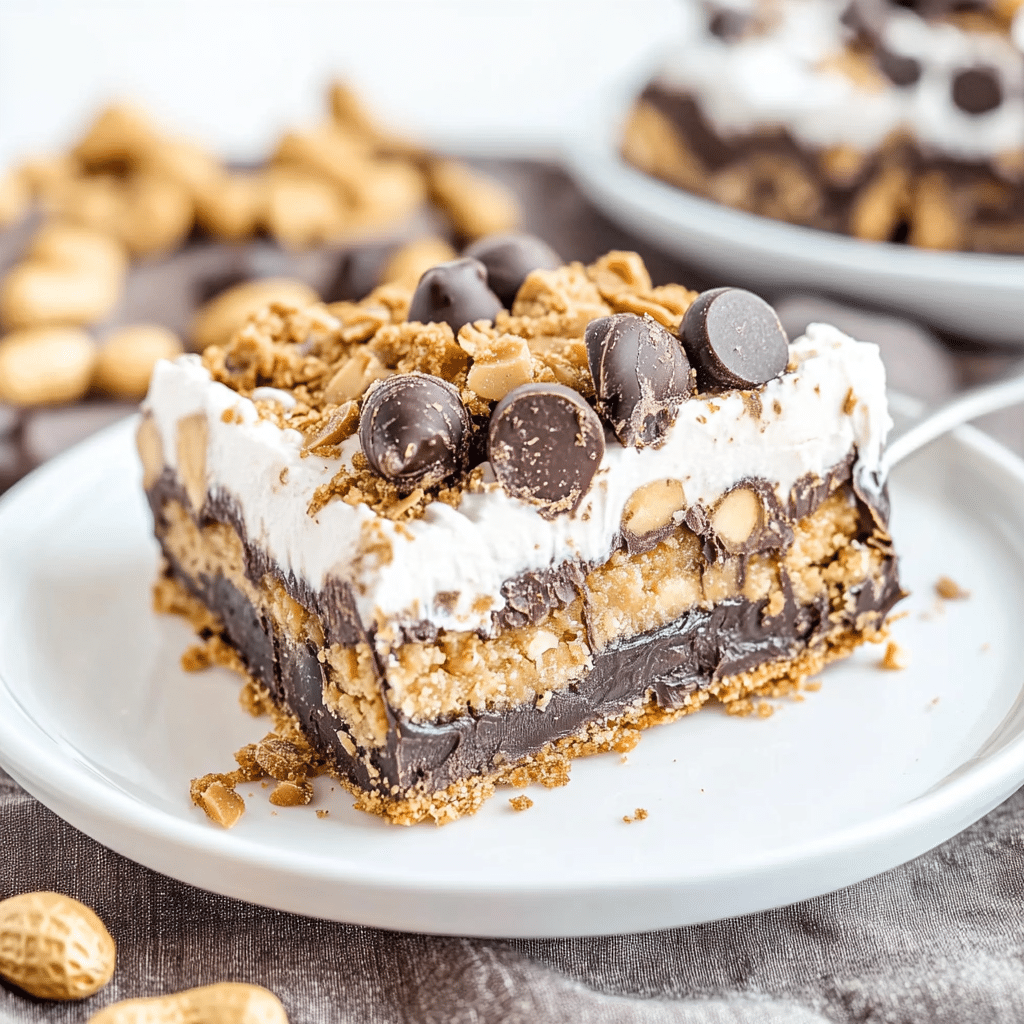
Discover the rich, creamy flavor of Chocolate Peanut Butter Dream Bars, a perfect sweet treat that melts in your mouth every time. This delightful dessert combines the irresistible duo of smooth peanut butter and decadent chocolate into a dreamy bar that’s both satisfying and simple to make. Whether you’re craving a quick snack or a luscious dessert, these bars deliver a melt-in-your-mouth experience that feels like a little celebration with every bite.
Why You’ll Love This Recipe
- Comfort in Every Bite: The blend of chocolate and peanut butter offers a perfect balance of creamy and rich flavors that feel like a warm hug.
- Easy to Make: With simple ingredients and straightforward steps, this recipe is accessible to bakers of all skill levels.
- Versatility: Whether you want a decadent dessert or a quick energy-boosting snack, these bars fit the bill.
- No-Bake Option: You can prepare them without turning on your oven, making it perfect for hot days or when you’re short on time.
- Customizable: From adding nuts to swapping chocolate types, it’s easy to personalize to your taste.
Ingredients You’ll Need
Every ingredient plays an essential role in creating the perfect texture and taste for your Chocolate Peanut Butter Dream Bars. From creamy peanut butter to smooth chocolate, these basics come together beautifully.
- Creamy Peanut Butter: The star ingredient that provides richness and binds the bars.
- Honey or Maple Syrup: A natural sweetener that adds just the right amount of sweetness and helps with texture.
- Rolled Oats: Adds a hearty chew and natural fiber, keeping the bars satisfying and slightly rustic.
- Dark Chocolate Chips: For that silky chocolate burst that melts perfectly across every bite.
- Coconut Oil: Adds smoothness, helps the bars set firmly, and gives a subtle tropical undertone.
- Vanilla Extract: Enhances the overall flavor profile with warm, inviting notes.
- Pinch of Salt: Balances sweetness and intensifies the chocolate and peanut butter flavors.
Variations for Chocolate Peanut Butter Dream Bars
Feel free to tailor this recipe to your taste or dietary needs! These variations are easy to incorporate and keep your dessert exciting and unique every time.
- Nut-Free Option: Substitute peanut butter for sunflower seed butter to keep it allergy-friendly.
- Chocolate Swap: Use white chocolate or milk chocolate chips to change the flavor intensity.
- Add Crunch: Throw in chopped roasted peanuts or walnuts for a delightful texture contrast.
- Superfood Boost: Mix in chia seeds or flaxseed for an extra nutrient punch.
- Sweetener Swap: Swap honey for agave syrup or date syrup depending on your preference or vegan lifestyle.

How to Make Chocolate Peanut Butter Dream Bars
Step 1: Prepare Your Pan
Line an 8×8-inch square pan with parchment paper, allowing some overhang for easy removal later. This step will help you lift the bars out easily once set.
Step 2: Mix the Dry Ingredients
In a large bowl, combine the rolled oats and a pinch of salt. Stir to distribute everything evenly, setting the foundation for chewy bars.
Step 3: Melt the Wet Ingredients
In a small saucepan or microwave-safe bowl, gently melt the peanut butter, coconut oil, and honey together until smooth. Remove from heat and stir in the vanilla extract.
Step 4: Combine Wet and Dry
Pour the peanut butter mixture over the oats. Stir until the oats are thoroughly coated and the mixture looks well combined.
Step 5: Press Into Pan and Add Chocolate
Transfer the mixture into your prepared pan, pressing it down firmly to create an even layer. Sprinkle chocolate chips evenly across the top, then gently press them into the bars to help them stick.
Step 6: Chill Until Set
Place the pan in the refrigerator for at least 2 hours or until the bars are firm. Once chilled, lift the entire block using the parchment paper and cut into bars.
Pro Tips for Making Chocolate Peanut Butter Dream Bars
- Use Natural Peanut Butter: Opt for one with just peanuts and salt to keep flavors pure and avoid extra oils.
- Press Firmly: Applying firm pressure when pressing the mixture ensures the bars hold together well.
- Don’t Skip Chilling: Refrigeration is critical for the bars to set properly and prevent crumbling.
- Customize Your Chocolate: Sprinkle on chocolate before chilling for melty pockets or fold them in for even distribution.
- Store Properly: Keep bars in an airtight container to maintain freshness and prevent drying out.
How to Serve Chocolate Peanut Butter Dream Bars
Garnishes
Add a sprinkle of sea salt flakes or chopped peanuts on top before chilling to elevate the flavor and add a delicate crunch that’s both beautiful and tasty.
Side Dishes
Pair these bars with a glass of cold milk, a cup of hot coffee, or a scoop of vanilla ice cream for an indulgent snack or comforting dessert combination.
Creative Ways to Present
Cut the bars into bite-sized squares for parties, wrap them individually for grab-and-go snacks, or stack with layers of fresh fruit for an eye-catching dessert platter.
Make Ahead and Storage
Storing Leftovers
Keep leftover bars in an airtight container in the refrigerator for up to one week to maintain freshness and flavor.
Freezing
For longer storage, wrap individual bars in parchment paper and place in a freezer-safe bag. Freeze up to three months and thaw at room temperature before serving.
Reheating
These bars are best enjoyed cold or at room temperature, but you can warm them briefly in the microwave for 10–15 seconds to soften the chocolate and peanut butter layers.
FAQs
Can I use crunchy peanut butter instead of creamy?
Absolutely! Crunchy peanut butter will add extra texture and a bit of crunch, making the bars even more interesting and satisfying.
Are these bars gluten-free?
They can be if you use certified gluten-free rolled oats, ensuring they meet gluten-free standards and are safe for sensitive diets.
How long do Chocolate Peanut Butter Dream Bars last?
Stored properly in the fridge, these bars stay fresh for up to one week, and freezing extends their shelf life up to three months.
Can I substitute the oats with another base?
You can try crushed nuts or puffed quinoa as a base, but this will change the texture and flavor, so adjust other ingredients accordingly.
Is this recipe suitable for vegans?
Yes! Replace honey with maple syrup or agave nectar and ensure any chocolate chips used are dairy-free for a fully vegan version.
Final Thoughts
If you’re looking for a simple yet irresistible treat, these Chocolate Peanut Butter Dream Bars are your go-to answer. They’re quick to make, endlessly adaptable, and perfectly balanced between sweet, salty, and creamy. Go ahead, treat yourself and share the joy of this dreamy dessert with friends and family — you won’t regret it!
PrintChocolate Peanut Butter Dream Bars

Chocolate Peanut Butter Dream Bars are a rich, creamy, no-bake treat that blends smooth peanut butter and decadent chocolate into satisfyingly chewy bars. Perfect as a quick snack or indulgent dessert, these bars offer a comforting balance of sweet and salty flavors with customizable options for various dietary preferences.
- Prep Time: 10 minutes
- Cook Time: 0 minutes
- Total Time: 2 hours 10 minutes
- Yield: 12 bars
- Category: Dessert
- Method: No-Bake
- Diet: Gluten Free (if gluten-free oats used), Vegan option available
Ingredients
Primary Ingredients
- Creamy Peanut Butter – 1 cup
- Honey or Maple Syrup – 1/3 cup
- Rolled Oats – 2 cups
- Dark Chocolate Chips – 1/2 cup
- Coconut Oil – 1/4 cup
- Vanilla Extract – 1 teaspoon
- Pinch of Salt – 1/4 teaspoon
Instructions
- Prepare Your Pan: Line an 8×8-inch square pan with parchment paper, leaving some overhang to easily lift the bars after they set.
- Mix the Dry Ingredients: In a large bowl, combine the rolled oats and a pinch of salt. Stir well to evenly distribute.
- Melt the Wet Ingredients: In a small saucepan or microwave-safe bowl, gently melt the peanut butter, coconut oil, and honey together until smooth. Remove from heat and stir in the vanilla extract.
- Combine Wet and Dry: Pour the peanut butter mixture over the oats and mix until all oats are fully coated and combined.
- Press Into Pan and Add Chocolate: Transfer the mixture into the prepared pan, pressing firmly to create an even layer. Sprinkle the dark chocolate chips evenly over the top and gently press them into the bars.
- Chill Until Set: Refrigerate the pan for at least 2 hours or until the bars are firm. Once chilled, lift the bars out using the parchment paper and cut into individual bars.
Notes
- Use natural peanut butter with no added oils for the best flavor.
- Press the mixture firmly into the pan to ensure bars hold together well.
- Do not skip chilling; it is essential for the bars to set properly.
- Customize with different types of chocolate or mix-ins like nuts or seeds.
- Store bars in an airtight container in the refrigerator for up to one week.
- Freeze individually wrapped bars up to three months; thaw before serving.
- Best served cold or at room temperature; warm briefly if desired.
Nutrition
- Serving Size: 1 bar
- Calories: 220
- Sugar: 10g
- Sodium: 80mg
- Fat: 15g
- Saturated Fat: 5g
- Unsaturated Fat: 8g
- Trans Fat: 0g
- Carbohydrates: 18g
- Fiber: 3g
- Protein: 5g
- Cholesterol: 0mg
Keywords: chocolate peanut butter bars, no-bake dessert, easy snack, gluten-free dessert, vegan dessert option, healthy bars